Thermador steam oven not making steam
The oven heats but never produces steam, or the cycle stops early
Monday to Friday 8:00am – 6:00pm · Saturday 9:00am – 4:00pm
(904) 478-8963Corrects That there is nothing useful an owner can do before a service visit except wait, and that a code on the display is the whole story.
Ten minutes
What an owner observes before the visit routinely decides where the diagnostic starts.
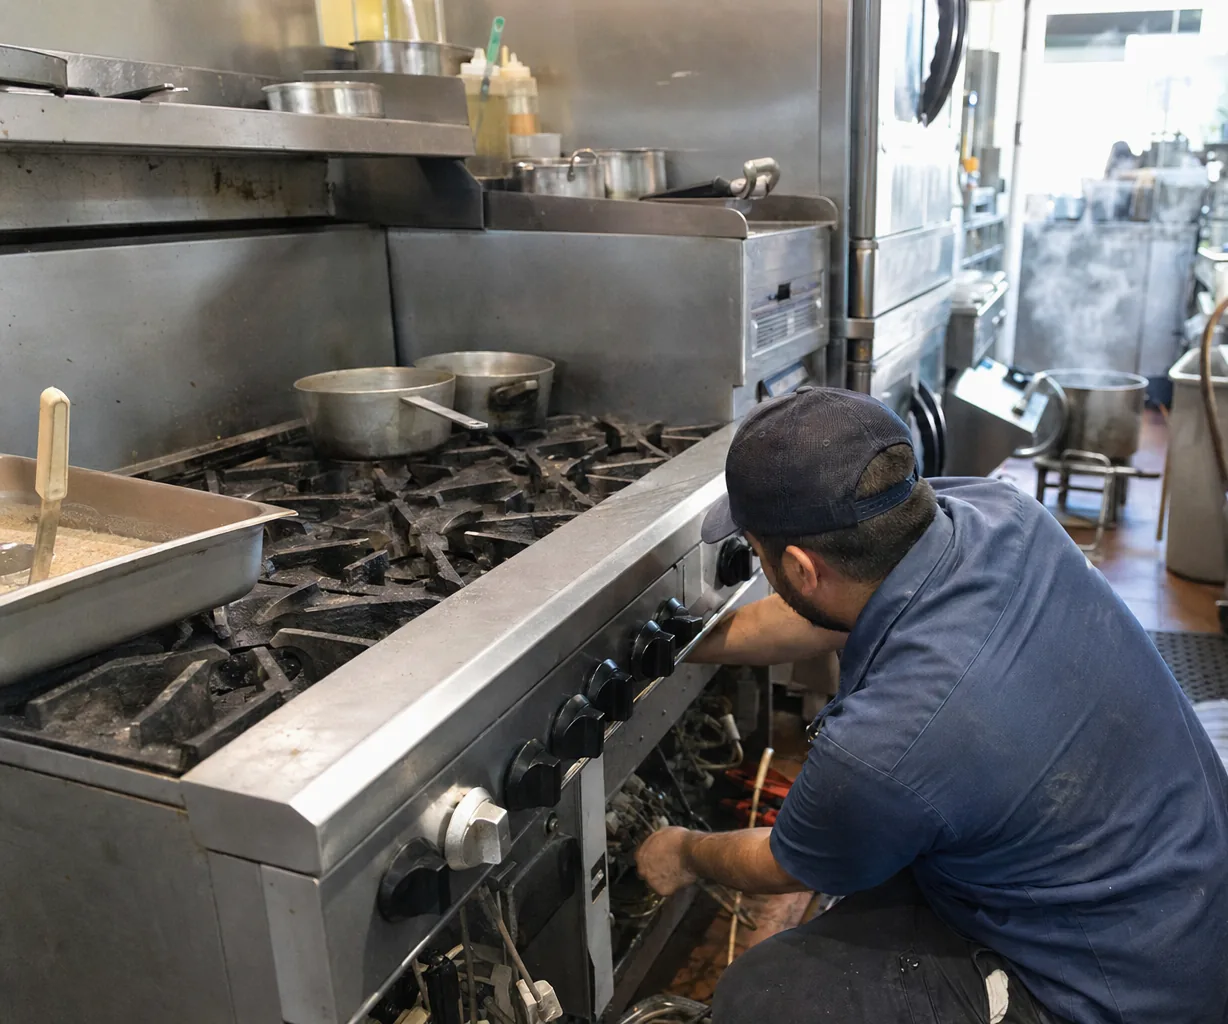
A diagnostic visit is an ordered search. What an owner reports decides the order, and a good report can move the right component from seventh place to first. None of what follows requires tools, and all of it is more useful than a guess about what has broken.
Not roughly. The day, and what else happened around it. The single most predictive fact in this county is whether the failure coincided with a storm week, because around 68 thunderstorm days a year makes momentary outages routine and control boards do not survive them gracefully.
The second most predictive fact is whether anything was installed, replaced or renovated shortly before. An appliance that has never worked properly since a kitchen was rebuilt has an installation problem, not a component problem.
“The pump is broken” tells a technician nothing except what you suspect. “It hums for about ten seconds during the drain phase and no water moves” is a description that eliminates half the possibilities immediately.
Useful distinctions: does it fail from cold or only after running for a while? Does it fail every time or intermittently? Does it start the cycle and stop, or never start? Did it get worse gradually or all at once?
Gradual decline points at wear, fouling and airflow. Sudden failure points at electrical faults and broken parts. Those are two different searches.
If the appliance shows a code or a message, write down exactly what is on the screen, character for character, and photograph it. Do not paraphrase it, do not look it up on a forum for a different model, and do not assume that a code you found online means the same thing on your appliance.
A code narrows the search. It is not a diagnosis, and treating it as one is how people end up buying parts they did not need.
For anything that heats or cools, an actual reading is worth more than an impression.
For refrigeration, put a thermometer in a glass of water on the middle shelf and read it four hours later. That reads the cabinet, not the door air. Above 40°F, move perishables and book.
For an oven, put a standalone thermometer on the centre rack, set 350°F and read it twenty minutes after the preheat tone. Fifteen or twenty degrees of drift is normal. Fifty degrees low is a fault.
Faults isolate themselves if you let them. On a double wall oven, run both cavities and see whether one or both are affected. On an induction cooktop, take one known-good magnetic pan and try every zone in turn. On a refrigeration column, note whether both compartments have drifted or only one.
Each of those comparisons splits the possible causes roughly in half, and every one takes a few minutes.
Look at the breaker, and look carefully. A double-pole breaker can trip on one leg while still appearing to be on. That is exactly what produces an oven or cooktop whose lights and display work perfectly and whose elements do nothing — the controls run on 120 volts and the heating on 240.
Switch a breaker fully off and back on rather than glancing at the handle. If a plug-connected appliance is involved, confirm the outlet works with something else.
The serial plate identifies the build, and on built-in equipment the build decides which part is correct far more often than the model name does. It sits inside the door frame on a wall oven, on the tub edge behind the door on a dishwasher, behind the toe grille or inside the cabinet on refrigeration, and on the side of the housing on a coffee system or a warming drawer.
Photograph it rather than transcribing it. A digit read wrong costs a week, and a part identified correctly on the phone is sometimes a part that arrives on the first visit instead of the second.
Do not run a cleaning or descale cycle to see whether it helps. Those cycles are maintenance the appliance asks for by counting its own use, not diagnostics, and running one on a machine whose pump is not moving water circulates nothing for two hours and tells you nothing at all.
Do not order parts from a forum diagnosis. Do not remove panels you cannot refit. Do not keep running an appliance that trips a breaker, smells hot, or has water in the cabinet below it.
The $80 diagnostic is flat regardless. What these observations change is the chance that the visit ends with a confirmed fault and a written estimate rather than a second appointment. That is the return on ten minutes.
$80 covers the diagnosis, and it is taken off the total if you decide to go ahead. Past that the figure is set by which component has actually failed, and the rows below are where the work this page describes has been settling. Nobody here quotes one number before the panel is off.
| What has failed | Parts and labor |
|---|---|
| Diagnostic visit | $80 flat |
| Igniter, spark module or surface element | $210–$490 |
| Oven thermostat or temperature sensor | $180–$560 |
| Bake or broil element | $210–$580 |
| Convection fan or motor | $260–$670 |
| Control board or touch panel | $440–$1,010 |
| Door hinge, glass or seal | $180–$680 |
| Refrigeration column sealed system | $920–$2,400 |
Ranges, not quotes. The width of a band is mostly access: a component reached from the front is one job, and the same component behind an appliance that has to come out of its opening is quite another. How a job is priced.
The oven heats but never produces steam, or the cycle stops early
The oven preheats slowly, runs cool, or never reaches the set temperature
A zone beeps, flashes and shuts off, or will not detect the pan at all
The column runs but the cabinet drifts warm, or one section cools while the other does not
Water is standing in the bottom of the tub at the end of the cycle
The machine reports no water, or grinds and heats but never brews
The igniter clicks continuously but the burner will not light, or lights then goes out
The blower runs at full speed but smoke and steam still spill into the room
A diagnostic beats a guess. Scheduled appointments across Clay County.
Call (904) 478-8963